How To Install Geyser On A minecraft Server
Skip the reading?
Check out our video guide on How To Install Geyser On A minecraft Server
Getting Started
Geyser allows cross play between Minecraft Java and Minecraft Bedrock on a single server, This guide will show you how to install geyser & how to use it. You will need to download Geyser and Floodgate. Make sure you have a version of Spigot or Paper running on your server.
1 Login to the Kinetic Panel
2 Stop your server
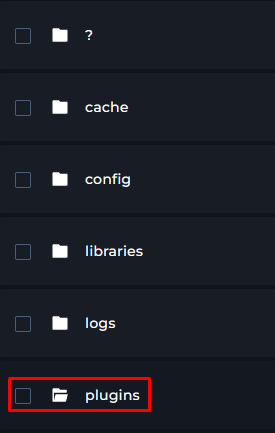
3 Head to the File Manager.

4 Next, Head to the Plugins Folder.
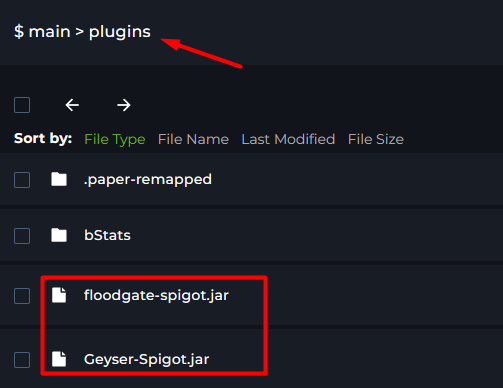
5 Upload the Geyser and Floodgate jar you downloaded into this folder.
6 Start your server once, let it fully boot online and then stop it again.
7 Geyser and Floodgate should've generated the correct files you need to link your server across Java and Bedrock.
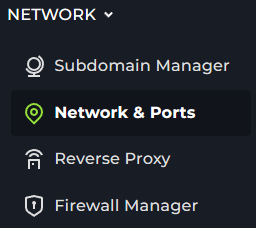
8 Head to the Network & Ports tab on the left hand side of the Kinetic Panel.
9 Click the "Open Port" Button, a Port should've been opened.

10 Give this port a note if you would like, this is so you can remember it easier for the future. Copy this opened port. (The newly opened port is the port Bedrock players will connect with)

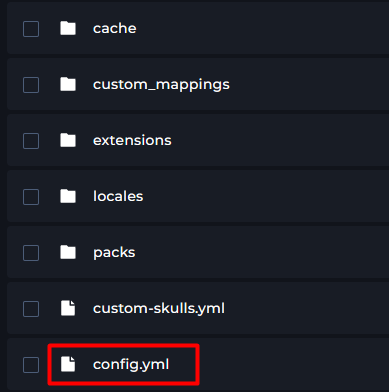
11 Head back to your Plugins Folder, You will open the "Geyser-Spigot" folder.
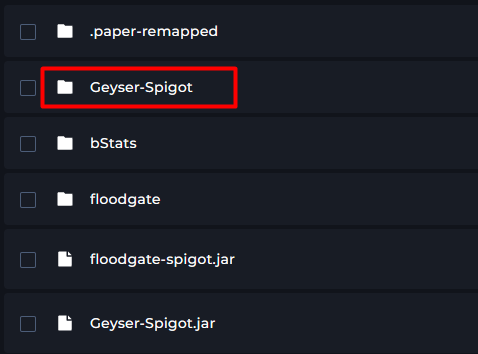
12 Open the Config.yml.
13 You will see the bedrock category at the top of the config file, you will then see the Port section, you will paste the port you opened in the "port:" category removing the 19132 port.

14 From there, you can save the file & start your server, Java and Bedrock players can now connect and play.
Missing Skins
Sometimes, you might find that Bedrock skins are not showing on your server. If this is the case, you can add this plugin and mod to solve the issue. Your client will need to be running Fabric.
Download the Bedrock Skin Utility Mod. This will need to be on your client.
You will also need the Geyser Skin Manager Plugin to be installed in your Plugins folder.